Pages

Sunday, July 29, 2012

Scrabble!

How many times have you played Words With Friends and gotten the message "______ may be misspelled" when you tried to sneak in a proper noun? Drives me CRAZY! Just let me play the bazillion point word I have all the letters for in the TW spot! You know you've said that too. ;) With this project, I'm taking the power back and using proper nouns in Scrabble! 

You may have noticed that I love letters, letter forms, text and fonts. So naturally, a name art project has been on my list. I got the idea forever and a day ago it seems. I even had all the supplies on hand. All that was missing was remembering to put it all together when I had time. While waiting for parts of another project to dry, I stumbled across the shadowbox frame and knew I could pump it out quickly. After all, the glue gun was already hot. 

I quickly gathered all the supplies; Scrabble tiles, shadowbox frame, 12 X 12 scrapbook paper, glue gun, T-square and corner square. Sitting at the kitchen counter, I got to work laying out the tiles so all of our names and the word family would fit on the 12 X 12 space. Take a look...


Now comes the fun part, gluing all the tiles! You might be wondering how I kept the placement and spacing. That's where the T and Corner square tools come in. Since Jeanette is the longest name and fit best in the middle, I knew the center of the paper would be in the space between the N and E. I lined up the T-square and corner square to find the center, put a little pencil dot (remember how nicely pencil shows up on black?) and used the T-square to help place the rest of the tiles in a straight line. 

Each tile is about .3 an inch away from the next.

Keeping the rest of the tiles laid out makes this project quick and easy.

The J and last E are about 2 inches from the edge of the paper.

I continued to move the T-square and glue tiles until they were all in place. 


It was really that easy. Not to mention QUICK! I love the end result! 


I think it's a shame that proper nouns can't be played in Scrabble. Jeanette is a 15 point word. With a TW spot, we're talking mucho point-os! The rules aren't going to change so using my craftiness, I have taken the power back. All I needed to do was a little thinking off the board. Now, that's how to use proper names with Scrabble!

Friday, July 27, 2012

Like a Kid in a...

cheese factory!

A few months ago, I thought about taking the girls to the Tillamook Cheese Factory in, where else, Tillamook, OR. It's about a 2 hour drive from our house and close to the beach, which makes it a great destination for a day trip. Naturally, when I first brought up the trip, we were in the last 6-8 weeks of school; one of the busiest times around here so the trip had to wait.


Yesterday, after living in the Portland/Vancouver area for just shy of 19 years, I finally made the trip to the Tillamook Cheese Factory. Of course, I took The Hubbs, Biggs, Lil' Miss and Cousin with me.

tillamook-cheese-factoryVoila! I was so excited I forgot to take a picture of the actual factory. This one is courtesy of 52 Perfect Days.com http://www.52perfectdays.com/articles/savoring-tillamooks-cheese-and-coastal-beauty/

It isn't an exaggeration that I was like a kid in a candy store. I LOVED watching the packaging team work their magic to make it so I can buy and consume the most incredible cheese on the face of the earth. As I watched the workers, my mind was racing. I was wondering all kinds of things like, how someone came up with the idea and automation of the factory machines, guessing the flavor cheese being cut and packaged, hoping they would start the machines on the left side of the room, and also thankful I'd spent some time reading up on cheese making on their website. There are signs everywhere telling the history and what is going on but how could I read the signs when there was CHEESE BEING MADE??!!

Lil' Miss asked if she could be the photographer. Being the supportive mother I am, I handed over the camera. She has taken amazing photos in the past and I knew she'd come through again. Here are some of her photos:
Playing with camera angle

Here come the "forties"...42lb. blocks of cheese. Lil' Miss said this might be enough cheese to hold her over for the day.

Slicing the forties into 2lb "Baby Loaf" size

Did I tell you how much Lil' Miss LOVES cheese yet? She definitely had her eye on what they were doing with her precious cheese.

Moving toward packaging

Lil' Miss and Cousin thought the machines with blue tubes should be called Octopus Machines.
I think Octopus Machine totally fits, don't you?

Extra cheese shaved off and put into white tubs....

I laughed at this picture when I first saw it. Lil' Miss must have been wondering what they were going to do with all the "extra" cheese. :D

The pictures have a cheddar quality to them don't you think? ;) We had to turn the flash off because it was reflecting off the observation windows. Cheddar-vision will have to do!

On the opposite side of the Factory are HUGE vats of milk used to make the "forties". We were able to see some of the production on both sides of the factory.

One vat holds 53,500 pounds of milk. There are 8 vats!

"Forties" getting vacuum sealed

The "forties" come out, sealed and ready for boxing.

Once in a box, it takes a ride up and out of the packaging rooms. I wonder where that conveyer belt leads...

I noticed Lil' Miss taking picture after picture after picture of the trophies and medals in display boxes. After what seemed like 50 pictures, I told her that was probably enough pictures of bronze cows. She did get some great shots though.


Of course, my favorite shot of the day is this one of Biggs, Lil' Miss and Cousin...

It was a great visit to the cheese factory! I'm sure we'll be going again. After all, where else am I going to find a 2 pound block of Smoked Cheddar Cheese? Maybe I can smuggle out a "Forty." ;)


Saturday, July 21, 2012

Texture Rich Window Treatment

The master bathroom window has been a source of great contention thought for me.  I've finally wrapped my head around there being a window in the small room and have moved on to asking, "What do I do with it?" It's been so boring and an eye sore. White, plastic mini blinds...yawn.

Boring, snooze-ville
I had two goals when taking on the window. 1st, privacy and 2nd, aesthetics. Wait, reverse that. ;) Creating more privacy was pretty simple. I picked up some fancy-schmancy window cling vinyl in a pattern called Rice Paper. It was super easy to install. Measure, cut, moisture, burnish, done. The installation took all of 10 minutes, tops.

The pattern is great and really brings something to the window. There is an increased level of privacy so I don't have to leave the blinds down all the time now. Yay!

Next up, putting up the twisty sticks above the window. They bring a great texture to the space. I picked up a set of twisty sticks (I'm sure they have a real name but IDK it so twisty sticks it is!) at Target, on clearance for <$5. Score! Sprucing up the twisty sticks was easy too. A little sheer aqua ribbon and twine was all there was to it. I put white hooks on the wall above the window, tied on the sticks and it was done. Easy peasy!

Just the right solution for this space.

Wrap the ribbon around the sticks then knot the last wrap. The twine is pulled under the knot and wrapped around then tied off.


Using white hooks brings them in as a design element.


I just love it! This is a great way to use an accent color without it taking over the space.

"LAUNDRY" Board = First Project Using Vinyl

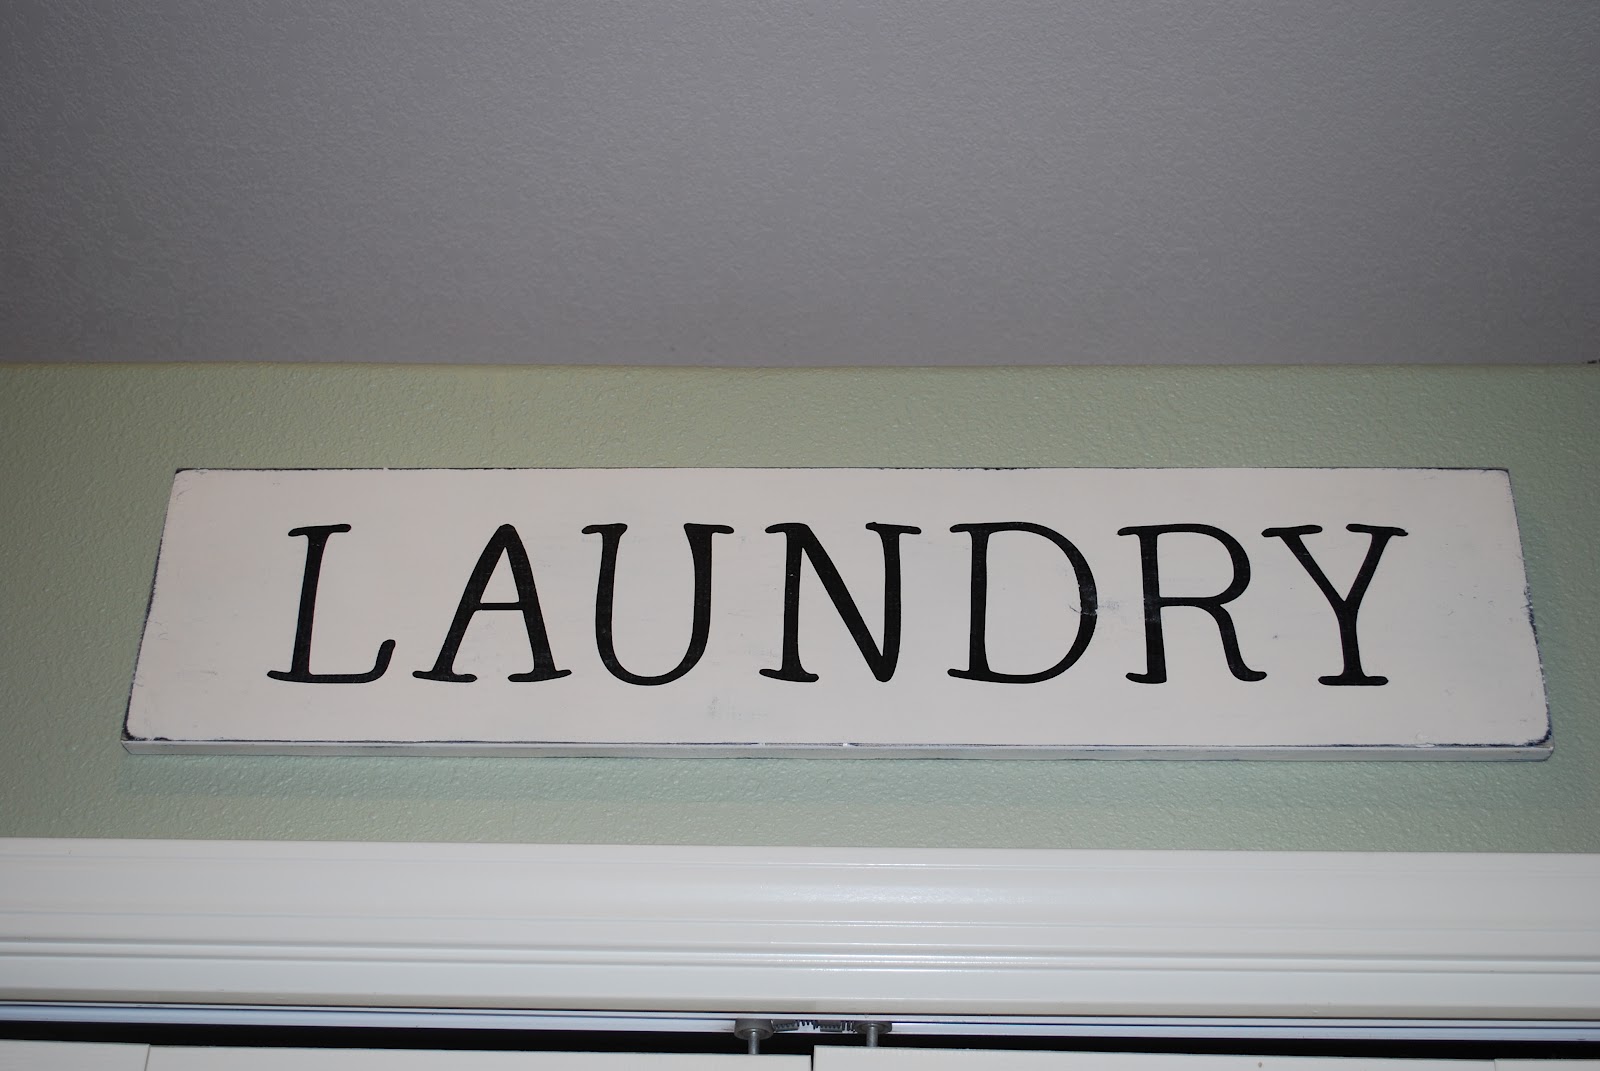
After thinking about it for about a year, I've finally taken the plunge...my first time cutting and using vinyl on a project and it turned out GREAT! It is a new found favorite for sure. So, what did I make? A subway art LAUNDRY sign to hang above the laundry closet in my kitchen. Yeah, you read that part right too. Our laundry is located in our kitchen. Nice, huh? Full window in the master bathroom and a bi-fold door laundry closet in the kitchen. Great design Builder! I shouldn't complain. My house is quaint and I adore it even if it isn't always the best design layout or plan. Luckily, the bonus is that I can change things to my liking one step at a time.

For this project, I used the leftover piece of 1 X 8 pine board from the Mason Jar Bar and Towel Rack projects for the master bathroom. (No, I haven't posted the Towel Rack project yet...it's coming.) Here's the rundown of supplies:
  • 32"L -- 1 X 8 pine board leftover from other projects
  • Rustoleum Black spray paint 
  • Black and Decker Mouse Sander
  • Lint free cloth
  • Rustoleum Heirloom White spray paint
  • Sprayer handle for spray paint (optional)
  • Black vinyl 
  • Cricut and accessories for cuts
  • Deep cut blade 
  • Sure Cuts A Lot Software
  • Computer
  • Masking Tape
  • Pencil
  • Level/meter stick
  • Sawtooth Hangers (2)
I started out by spray painting the board black and letting it dry. Once it was dry, I noticed it was a bit rougher than I wanted so I use my Black and Decker Mouse Sander to smooth the surface. Lil' Miss was fascinated with what I was doing and wanted to help out. She got to help wipe down the board after I gave it a light sanding.

Lil' Miss' feet!

One of the best purchases for a Crafter like me.

Wax on, wax off...no more like...dust off!

Crafty Neighbor (CN) was my saving grace for this one. I am in love with the font "Whackadoo" but do not have the capability to cut it. Well, CN has the amazing Sure Cuts A Lot software and was able to hook me up. So excited! I chose "Whackadoo" because it's playful but not too "cutesy." With my supplies in tow, I set off across the street to take on the daunting vinyl.

Test cut

CN set up the letters using the software, helped me cut the vinyl to fit on the cutting mat and off we went. We decided to make a test cut so we could check that we had the settings right on the Cricut before we tried cutting the entire word. Here are the settings we used: Speed-Medium (3), Pressure-Medium (3), Deep cut blade set to blade depth 3. I loaded the mat, pressed cut, watched and waited. Oh, before I forget, the letters are 4.3 inches tall.

Cutting, cutting, cutting.

Look at that! It's perfect! I peeled away the negative space vinyl leaving only the letters on the backing.

The next part was pretty fun. I used regular ole masking tape, which I bought for $4 vs. $10 for the ProvoCraft Transfer Tape. The masking tape worked great! To transfer each letter, I put a few strips of masking tape on top of the letter I wanted to move.


Then, I burnished the tape with a small, plastic scraper. The tape then "picked up" the letter when I pulled the tape off the backing at a 45 degree angle. Picking it up at an angle allows you to lay it back down and burnish again if part of the letter sticks to the vinyl backing paper. I decided to lift all the letters on the transfer tape then line them up on the painted board and apply them one at a time.

Burnishing the transfer tape.

Lifting the transfer tape at a 45 degree angle.

To help place each of the letters, I drew guidelines on the painted board. Pencil shows up great on black. The silver line is easy to see and I didn't need to worry about erasing it since I'd be applying another layer of paint.

Do you see the pencil line?

There is a line across the top and bottom.

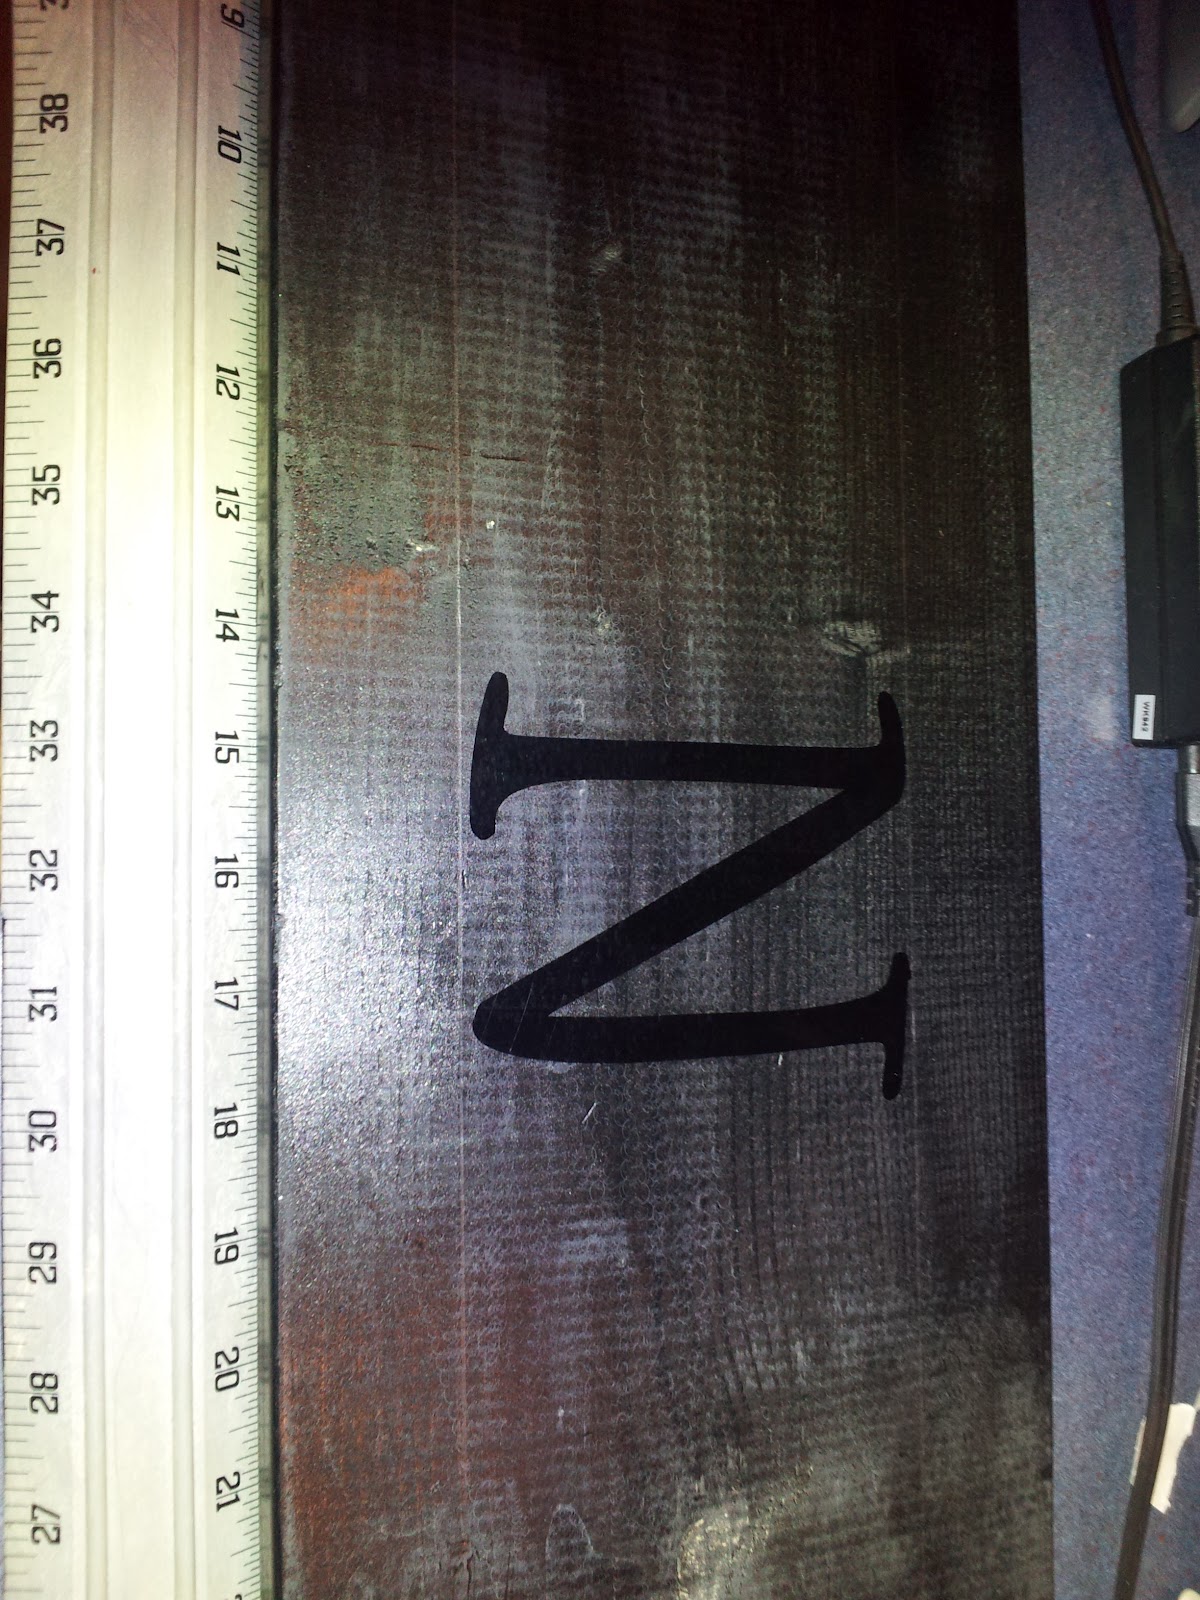
I started with the "N". Why? It's the middle letter in the word LAUNDRY so it needed to be in the center of the board. Now, I had my handy-dandy meter stick with levels but honestly, I'm usually more successful "eyeballing it."
Eyeballed placement
 The "N" was placed at 16" with the center of the letter hovering around the 16" mark. I had laid all of the letters wrong side up as I adjusted spacing then turned each one over one at a time to apply it to the board. Once I had the spot just right, I turned the "N" over, laid it on the board, between the guidelines and burnished it again. Slowly, at a 45 degree angle, I pulled up the masking tape. Talk about an exhilarating feeling to remove sticky tape and have an amazing letter lay in it's place! That fact that I was going to do it 6 more times...icing on the cake! Uniformity + repetition = happy once again ;)


Burnishing the first letter on the board.

Removing the transfer tape...

Woowoo!! It's just want I pictured!

Placing the letters was a lot of fun. CN said I got faster with each one.

After all the letters were burnished to the painted board, it was time for the next coat of paint. What color other than Heirloom White. I made the trek back home for this part. Lil' Miss and friend were again intrigued about what I was doing. They laughed when I sang, "Shake, shake, shake. Shake, shake, shake. Shake your groove thing" as I shook up the spray paint. Lil' Miss is never lacking questions. She wanted to know why the letters were black on black. Why was I going to paint over them? Wouldn't the paint cover the letters? What color would the letters be after I painted and lifted the vinyl off? I love her inquisitive mind! Now that the board is painted in the top coat, it's time to let it dry.

Top coat of Heirloom White is applied and ready to...

DRY! ;)

We went to a fabulous BBQ while the paint dried. Ribs, corn on the cob, berry spinach salad, au gratin potatoes and poached pears with chocolate sauce for dessert. Yum! As soon as I got home and checked the board, it was time to peel off the vinyl letters. Oh man! This was going to be exciting! Would the letters come off well? Would the paint stick to them and pull up like it sometimes does on walls? ...now you know where Lil' Miss gets her questioning gene don't you?... Starting with the letter "L"... here goes....


Looking good!

I feel a song coming on..."La, la, la, la, la...."

Success! Love, love, love this!


The last few steps are in sight! Distressing, seal coat, attach sawtooth hangers and put it up!


To distress the board, I used my Mouse sander again. I like to sand outside so I'm not breathing in as much of the dust not to mention that the lighting is phenomenal!  When distressing, I do a little at a time keeping in mind, I can take more off but I can't put it back on very easily. I wanted the black undercoat to show so I gently sanded the edges, ends and a bit on the surface. Remember those rough places I didn't really like when the board was black? Well, they are the perfect spot for extra sanding and distressing on the final product. Take a look...


After distressing, I sprayed a coat of matte finish sealant to protect the finish. Once that was dry, I attached sawtooth hangers on the back in the upper corners, 1 inch in from the sides and about half an inch below the top of the board. Using a level, I put a few nails in the wall, hung up the sign and WOW! It's better than I imagined!


So, what do you think?! I can't wait to make more...who wants one? ;)