Here goes!
I've fallen in love with glass block projects. Last year (2010), I made my first one for a family friend of my parents, who would be taking the gift back to Finland. For his project, I had to circumvent some challenges like weight, fragility and not knowing a ton about his personal interests. The local craft store had smaller size glass blocks...4 inches if I remember correctly. So, I started in with a small project. The friend is a pastor so I chose a simple sentiment "Faith" with a small flourish. To color the glass block, I used alcohol ink. It was my first time using it and I loved the result! A little definitely goes a long way! (...It appears I do not have a picture of this particular glass block. If I find one, I'll add it.)
This year, I decided to make a religious themed glass block for my Mother-in-Law. One of my favorite things to do is think ahead and purchase seasonal items at the end of the season, on clearance, for the next year. That's exactly what I did. At the end of the holiday season 2010, I purchased 2 vinyl transfer decals just for this project at a fraction of their retail price. Then, I waited for the other items to go on sale and finally got to put it all together around Thanksgiving time this year.
 |
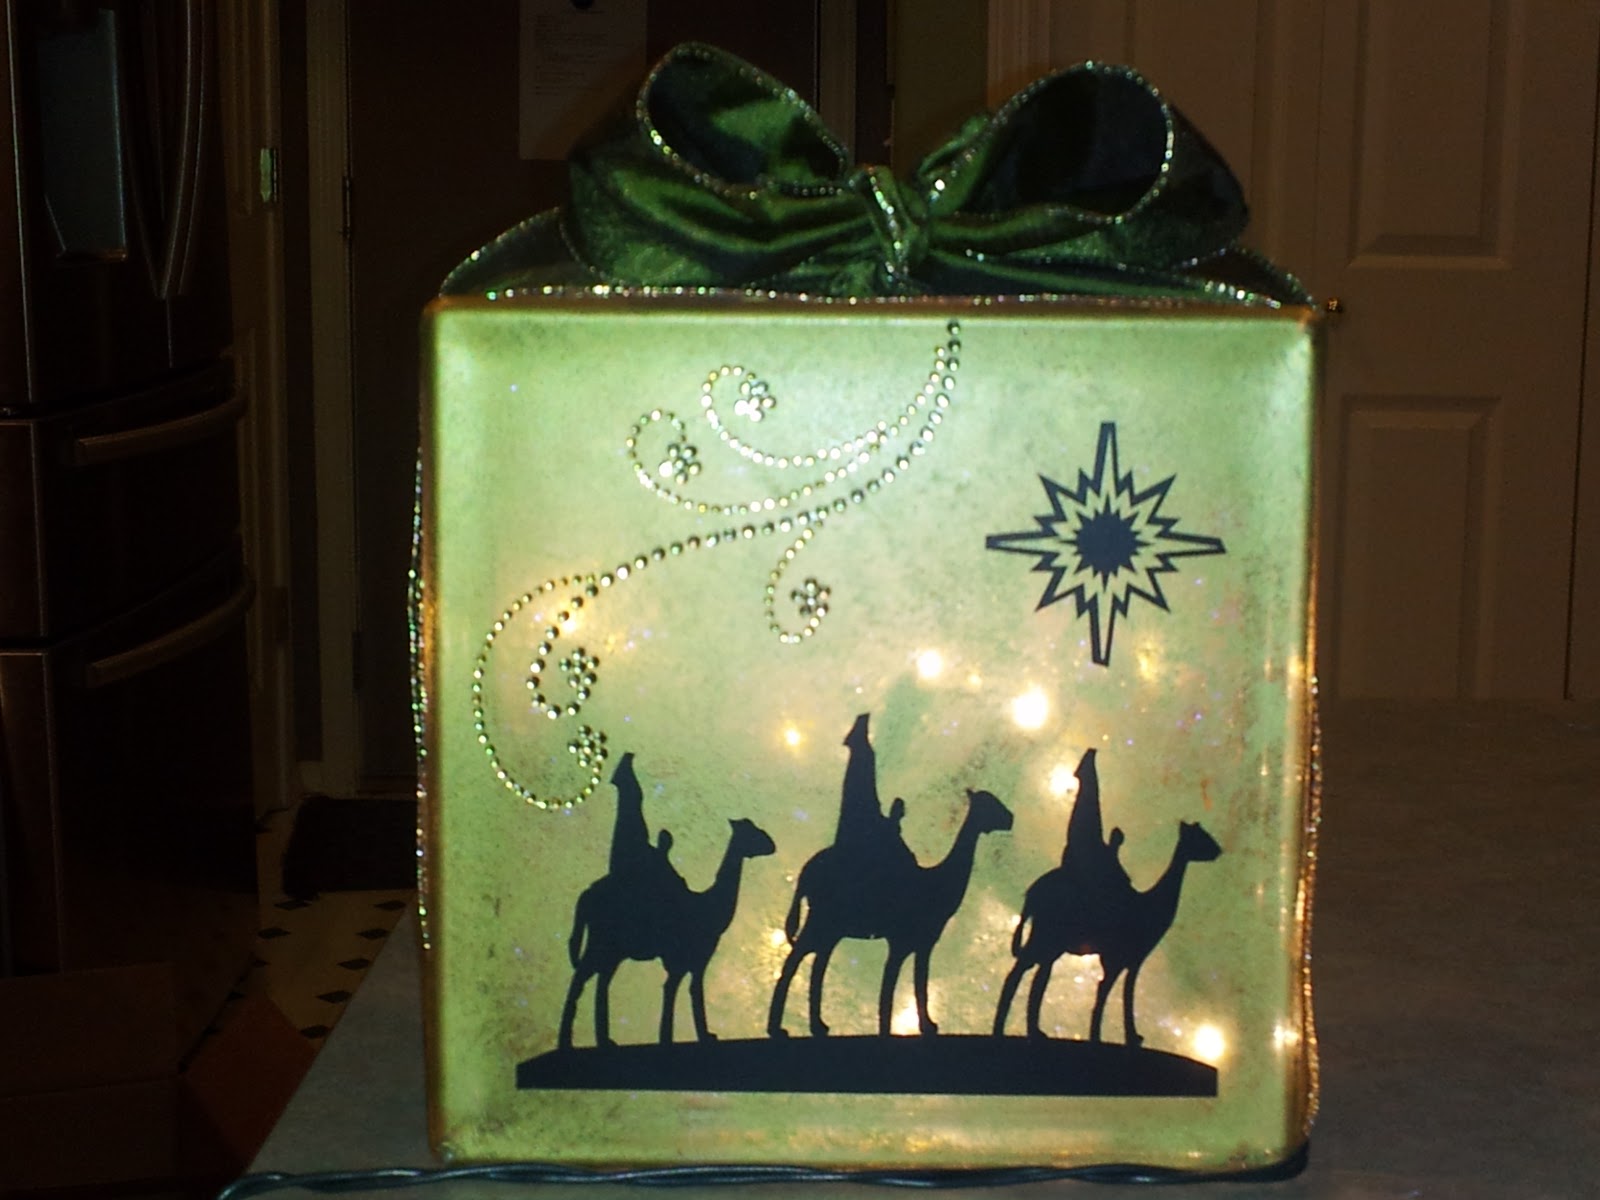
| Front |
I didn't take pictures throughout the process, just at the end. So, I'll do my best to recount the steps I took. I LOVE how it turned out! First, I cleaned the glass block. Then, I used Adirondack Alcohol Ink in Gold and applied it in a circular, overlapping motion. It took two coats to get the desired hue. The ink dries quickly so work in small areas then move on. I made sure to ink the sides too as they are partially visible under the ribbon.
Next, I applied the vinyl transfer images. One to the front and one on the back. Once that was done, I added the bling embellishments. The bottom of the block has an opening with a plastic plug. This is where I inserted the string of 20 white lights and iridescent "Easter grass" to fill the interior of the block. Finally, I glued a length of ribbon that went from about 1/4 of the way from the left to a 1/4 of the way to the right side of the block. This allows the entire glass block side to be covered in ribbon even under the bow where the ribbon squishes together. The last step was to wrap the entire block with the ribbon and tie an elegant bow.
 |
| Back |
I love how it turned out but best of all, my Mother-in-Law loves it!
No comments:
Post a Comment